My sister-in-law has a huuuuge garden and it includes an area where she dedicated all her potted flowering plants. The terracotta pots have their own beauty, but it was unsightly to see those mismatched plastic planters that housed her beautiful roses and bougainvilleas.
And so I went on to search for the best possible ways to cover up those plastic plant pots and put them all here for your benefit.
I found that there are 8 ways you can cover your plastic plant pots:
1. TIE-AROUND
The easiest way to pretty-up a plastic pot is to tie it with fabrics, ribbons, ropes or twines.
Fabrics
You can cut a strip of fabric to tie into a bow. The type of fabric you’re going to use would depend on the look you’re trying to achieve.
For example, tulle is often used at weddings and other formal events, but you can always use any fabric you like if it’s for home decoration.
Ribbons
Ribbons can be made from a variety of materials and it can be synthetic, natural, or a combination of both.
The popular ones are laces, satins, organza, and synthetic metallics.
If the plant pot is holding an evergreen or a non-flowering plant, a ribbon with small flower prints would look adorable.
Twines/Ropes/Cords
I find that the best look is achieved when you use a natural twine like jute, sisal, hemp, henequen, or coir.
2. FINISHES & TEXTURES
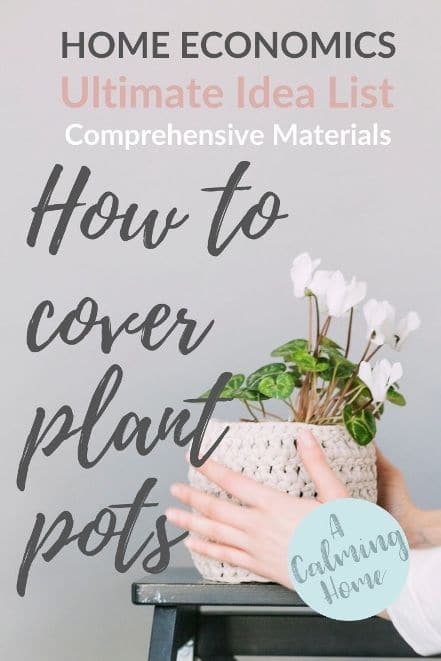
Another easy way to transform a plastic pot is to change its color or texture.
Paint
Painting is a cheap and easy way to personalize your plant pots and it gives you limitless design potentials.
With the right technique, you can create faux finishes like wood or stone, give your plant pot a gilded finish like gold or copper, or even replicate a French patina.
I like using chalk paint for everything because it gives that natural and organic look that I’m looking for. However, while it works really well on wood, I don’t know how it’ll hold with plastic. I know that they should hold up fine if the plastic is a matte finish, but if it’s the usual shiny finish, then spray painting it would be the better recourse.
Everyone’s favorite spray paint is probably Rust-Oleum’s Universal Paint and Primer because it adheres to almost any surface, and I would agree in the case of our plastic planters.
Decals or Vinyl Appliques
There are decals that are readily available in craft supply stores and you can just stick them on the pot as long as you’ve cleaned the surface beforehand.
You’ll have a million of designs to choose from, and even if you can’t find what you’re looking for, you can have a custom one made for you.
Decoupage
Decoupage was really a thing back in my childhood days and I really want to see them come back in fashion.
You can cut-out some aesthetic images or quotes from old books, magazines, or newspapers. It’s a good way to recycle used gift wrappers and holiday cards too!
3. EMBELLISHMENTS
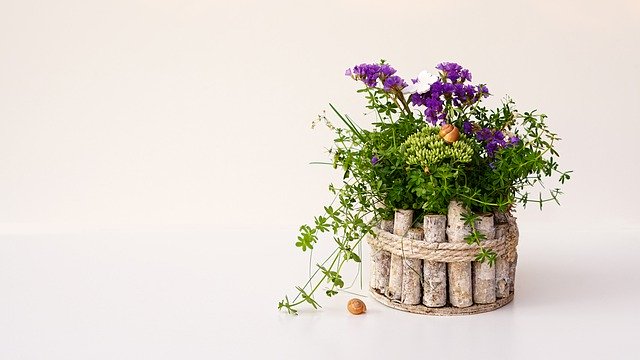
Ever heard of mosaic art? You can create your own masterpiece using a variety of materials like beads, tiles, rhinestones, broken jewelry, glass, and mirrors.
For natural elements, aside from wood or timber, you can use pebbles, sand, seashells, bark, twigs, moss, or seagrass.
4.WRAPS
The idea here is to wrap the material around the plastic pot. There are two ways you can do wraps:
1. place the pot on the center of a pre-cut material, fold it up around the pot so it hugs it neatly and securely, and tie-around with a string or ribbon.
2. stick adhesive or brush glue all over the outside of the plastic pot, then either stick your wrap as you would a decoupage or wrap the whole thing completely.
There are 3 types of wraps that you can use:
Paper wraps : You can use tissue Paper, kraft Paper, Newspaper/Print Paper
Fabric wraps: You have a lot to choose from when it comes to fabric. It can be made from natural, synthetic, or a combination of these fibers
Here are some favorite fabric wrap ideas:
LACE – Lace adds a cozy, warm, and feminine flair
DENIM – A classic, denim works well with any design ideas
CANVAS -This is the most common plant cover pot that’s being sold in the market. It is a heavy-duty material and comes in a variety of stylish designs.
HESSIAN- This is actually a new word for me. Hessian is a strong or coarse fabric usually made of burlap, hemp or jute, or those materials used for sacks.
METALLICS- Metallic foil or metallic foil mesh looks great with any plant and is commonly used by florists.
5. HANDCRAFTED
If you’re more of an artist or a DIY person, then you can create something unique that would become conversation starters.
A few materials that I see on Pinterest are knitted yarn, crochet, paper mache, and the ever-popular macrame.
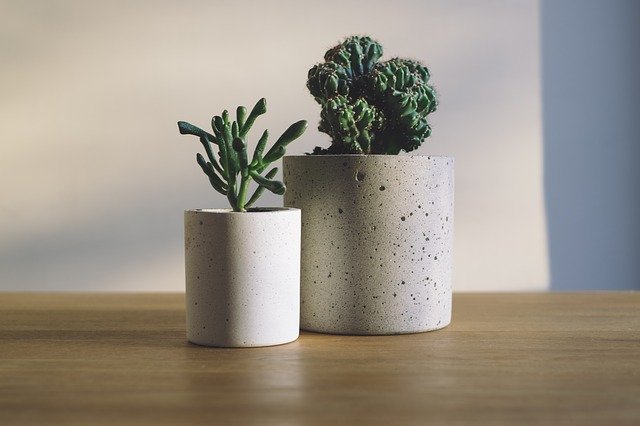
For easy projects that would impress (or at least not look like a lame school project), you can make your own concrete plant covers. If you’re super crafty, you just might be able to weave your own wicker.
6. READY-MADE / STORE-BOUGHT
You can buy everything today and I’m pretty sure you can easily find some lovely containers which would make a great plant pot cover.
It doesn’t have to be specifically designed for that purpose, but it could be anything wherein you can simply place the plastic plant pot inside to transform its appearance.
Some of those I’ve seen are made of leather, stoneware (concrete), wrought iron, galvanized steel, ceramic, wood, and woven baskets ( The belly basket is all over Pinterest!).
For small plant pots, you can use wooden crates or even wooden pallets (Cacti would look adorable in them).
7. RECYCLED or UPCYCLED
Practically anything can be turned into a plant pot cover with a little imagination (and some Pinterest surfing).
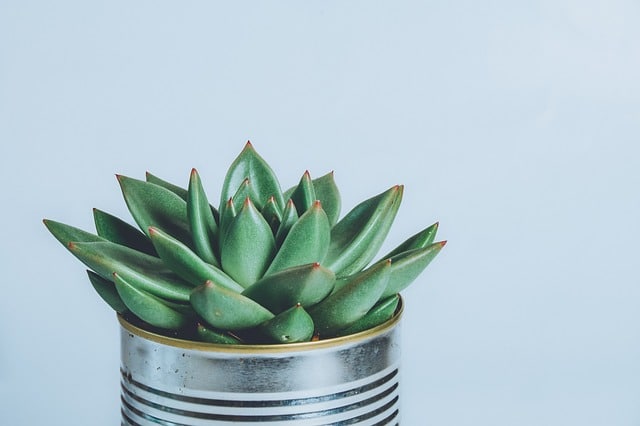
Here are a few ideas that I’ve seen: tin Cans, milk carton, produce sacks, shopping bags, paper bags, washable kraft paper, trash can, laundry baskets, watering can, buckets, tires, paint cans.
8. UNUSUAL / NOVELTY
This is almost the same with the upcycled ones in that you can use any object as a plant pot cover, but you can purchase these items new and not use them for what they were designed for. These are great conversation starters.
Look for plant pot cover ideas using rain boots, hats, watering can, kitchen items (pots, colander, chilly bins) toolbox, mugs or teacups, shoes (boots, crocs, heels), lunchboxes, grocery bags, toys, broken vehicle.
That was a lot of materials to go through!
I hope that you’ll get some ideas from some of these. I’ll surely update this post as I get some photos of each of the examples, and hopefully with my own DIY projects in the near future.

